Classic Granny Square Crochet Pattern: Free Step-by-Step
A simple crochet granny square feels like a soft, woven relic of childhood that fits perfectly in your hands. These squares have a cozy, slightly rustic texture that makes them the go-to project for beginners learning to build shapes and home decor enthusiasts making blankets or pillows. You will love how quickly they grow from a small center cluster into a sturdy textile component. This guide covers the essential chain and double crochet techniques you need to build your own stack. It is a satisfying way to spend an afternoon turning scrap yarn into something meaningful while developing your tension and consistency for larger, future projects.
Why You’ll Love This Pattern
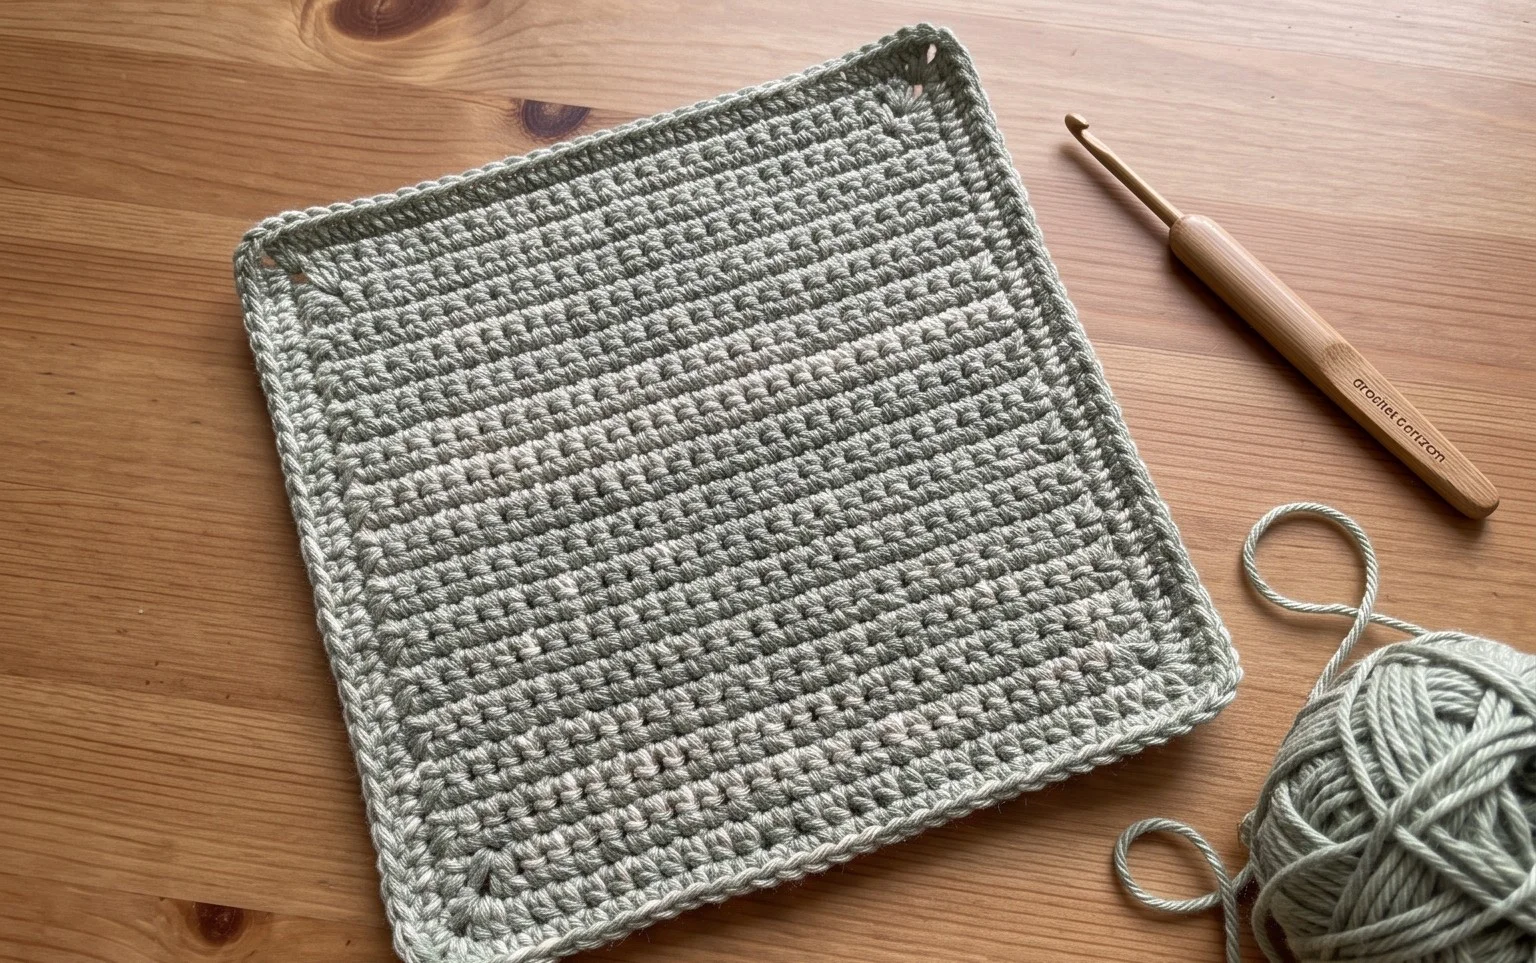
The Classic Crochet Granny Square is the fundamental building block for countless textile projects. You will appreciate how quickly this pattern works up, making it ideal for utilizing leftover yarn ends from larger projects. Its repetitive nature provides a meditative, rhythmic stitching experience that is easy to pick up and put down. Because the construction is modular, you have full control over the final size of your project by simply adding more squares, which eliminates the stress of working on a single massive piece.
I finally learned to crochet using this specific square pattern. The instructions were clear enough that I finished my first set of six in a single weekend without feeling overwhelmed by complex techniques.
— Sarah, beginner crocheter
Pattern Overview & Skill Level
- Skill Level: Beginner
- Approximate Time: 30 to 45 minutes per square
- Construction: Worked in rounds, starting from the center and moving outward
- Finished Dimensions: Approximately 5 inches by 5 inches using worsted weight yarn
Materials & Supplies Needed
- Yarn: Worsted #4 weight, acrylic or wool blend, approximately 20 yards per square.
- Hook Size: 5.0 mm (US H-8)
- Notions: Tapestry needle for weaving in ends, sharp scissors.
- Safe yarn substitutions: You can use DK weight yarn with a 4.0 mm hook for a smaller, delicate square, or bulky weight yarn with a 6.0 mm hook for a larger, quicker square. Note that changing yarn weight will significantly alter the final dimensions.
Stitch Guide & Abbreviations (US Terms)
- ch: chain
- st/sts: stitch/stitches
- sl st: slip stitch
- dc: double crochet
- dc-cluster: 3 double crochet stitches worked into the same space
- sp: space (the gap created by ch-1 or ch-2)
- MR: magic ring (an adjustable loop used to start circular work)
Step-by-Step Pattern Instructions
Granny Square Body
- Rnd 1: Start with a MR. Ch 3 (counts as first dc here and throughout). Work 2 dc into the ring. Ch 2. [3 dc into ring, ch 2] 3 times. Join with a sl st to the top of the beginning ch-3. (12 sts)
- Rnd 2: Sl st into the next dc and into the corner ch-2 sp. Ch 3, 2 dc, ch 2, 3 dc into the same corner sp. Ch 1, (3 dc, ch 2, 3 dc) in the next corner sp. Repeat from * to * two more times. Ch 1, join with a sl st to the top of the beginning ch-3. (24 sts)
- Rnd 3: Sl st into the next 2 dc and into the corner ch-2 sp. Ch 3, 2 dc, ch 2, 3 dc into the corner sp. Ch 1, 3 dc into the next ch-1 sp, ch 1, (3 dc, ch 2, 3 dc) in the next corner sp. Repeat from * to * two more times. Ch 1, 3 dc into the final ch-1 sp, ch 1, join with a sl st to the top of the beginning ch-3. (36 sts)
- Rnd 4: Sl st into the next 2 dc and into the corner ch-2 sp. Ch 3, 2 dc, ch 2, 3 dc into the corner sp. Ch 1, (3 dc into the next ch-1 sp, ch 1) twice, (3 dc, ch 2, 3 dc) in the next corner sp. Repeat from * to * two more times. Ch 1, (3 dc into the next ch-1 sp, ch 1) twice, join with a sl st to the top of the beginning ch-3. (48 sts)
Finishing
Cut your yarn leaving a 6-inch tail. Pull the tail through the final loop on your hook to secure. Use a tapestry needle to weave the yarn tail through the back of the stitches to hide it. If you plan to join these squares together, consider leaving a longer tail on the final round to assist with seaming.
Care & Washing Instructions
- Hand wash in cool water with a mild detergent to maintain the structure of the stitches.
- Gently squeeze out excess water using a towel; do not wring or twist the fabric.
- Lay the square flat on a clean surface to air dry and lightly steam block if the corners look uneven.
Pro Tips & Common Mistakes to Avoid
- Consistent Tension: Keep your yarn tension uniform throughout the squares so they remain the same size when it comes time to join them.
- Counting Stitches: Place a stitch marker in the beginning ch-3 of each round to easily locate the joining point at the end.
- Weaving Ends: Secure your yarn ends by weaving them in opposite directions inside the base of the double crochet stitches for a cleaner, more durable finish.
- Adjusting Size: You can continue adding rows in the same manner as Rnd 4 for as long as you like. Each additional round will increase the total stitch count by 12 stitches.
Frequently Asked Questions
Can I use cotton yarn for these squares?
Yes, cotton yarn works beautifully for this pattern and provides a crisp, well-defined stitch. Keep in mind that cotton has less stretch than acrylic, so your tension might feel slightly tighter while working.
Is this square pattern suitable for making a blanket?
This pattern is perfect for blankets. You can make as many squares as needed and join them using a whip stitch or a single crochet seam to form a large throw.
What should I do if my square is curling at the corners?
Curling is common in newer crocheters. Ensure your corners are worked with the full (3 dc, ch 2, 3 dc) sequence, and try to block your square after completion to flatten the fabric.
Am I allowed to sell blankets made from this pattern?
You are free to sell items you create using this design. Please credit the original pattern designer when listing your items online or at craft fairs.
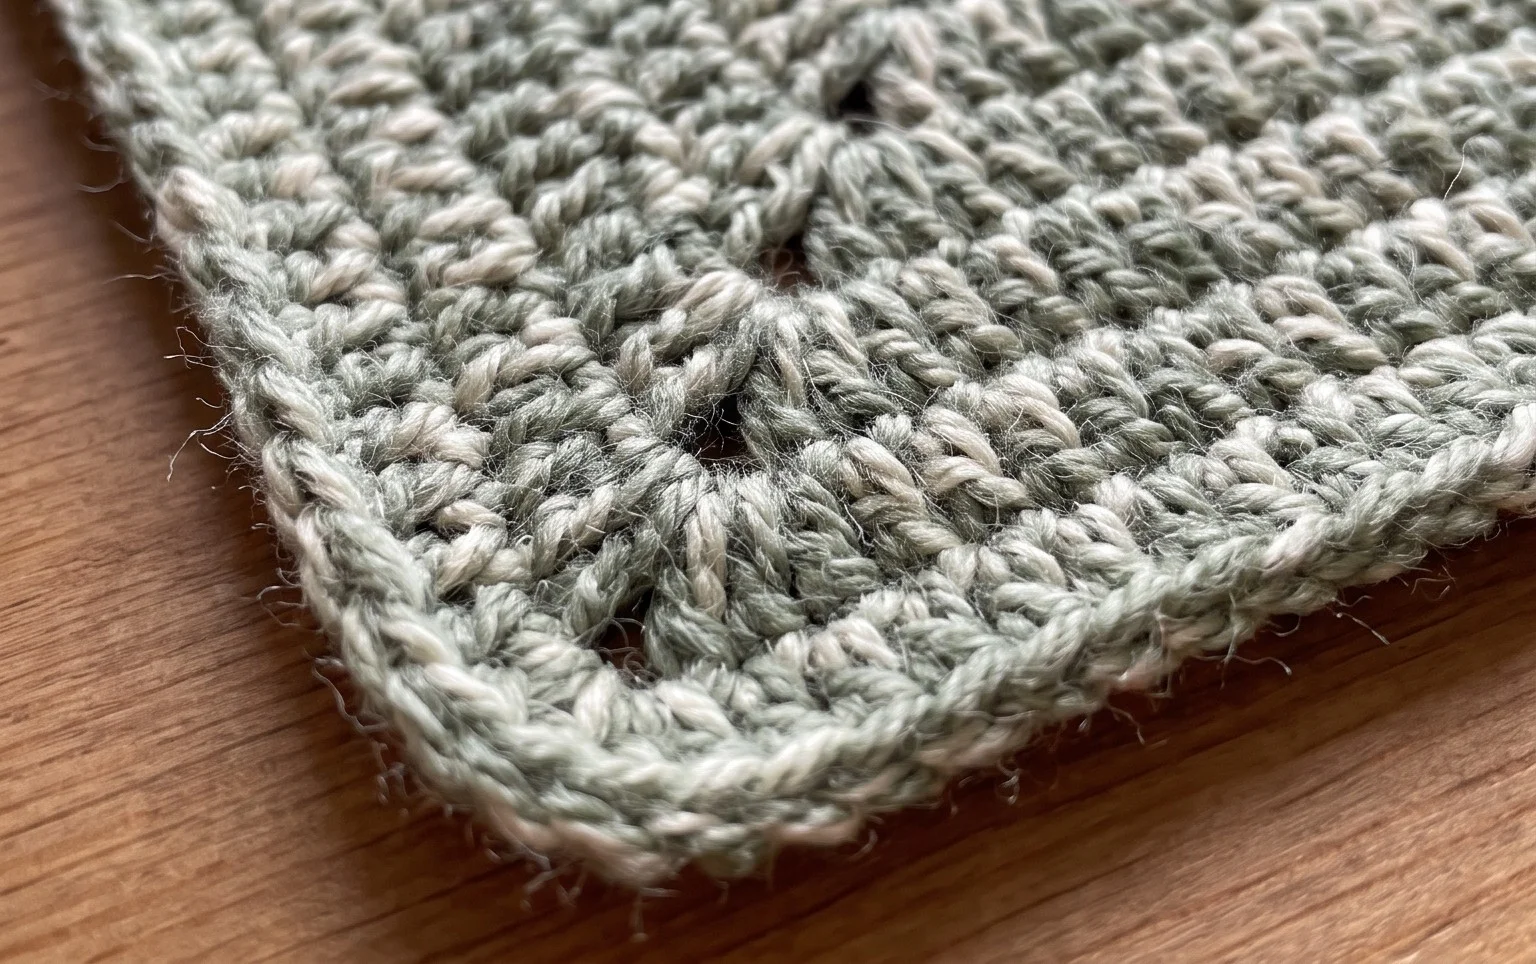
Seeing your stack of finished squares creates a genuine sense of accomplishment after a few hours of focused work. Try swapping your standard wool for a smooth cotton blend if you want a firmer square that holds its shape for a sturdy summer tote bag. Please share a photo of your color combinations on social media so others can see your progress. You can find more free patterns and project inspiration on our blog whenever you are ready to start your next handmade accessory or home gift.