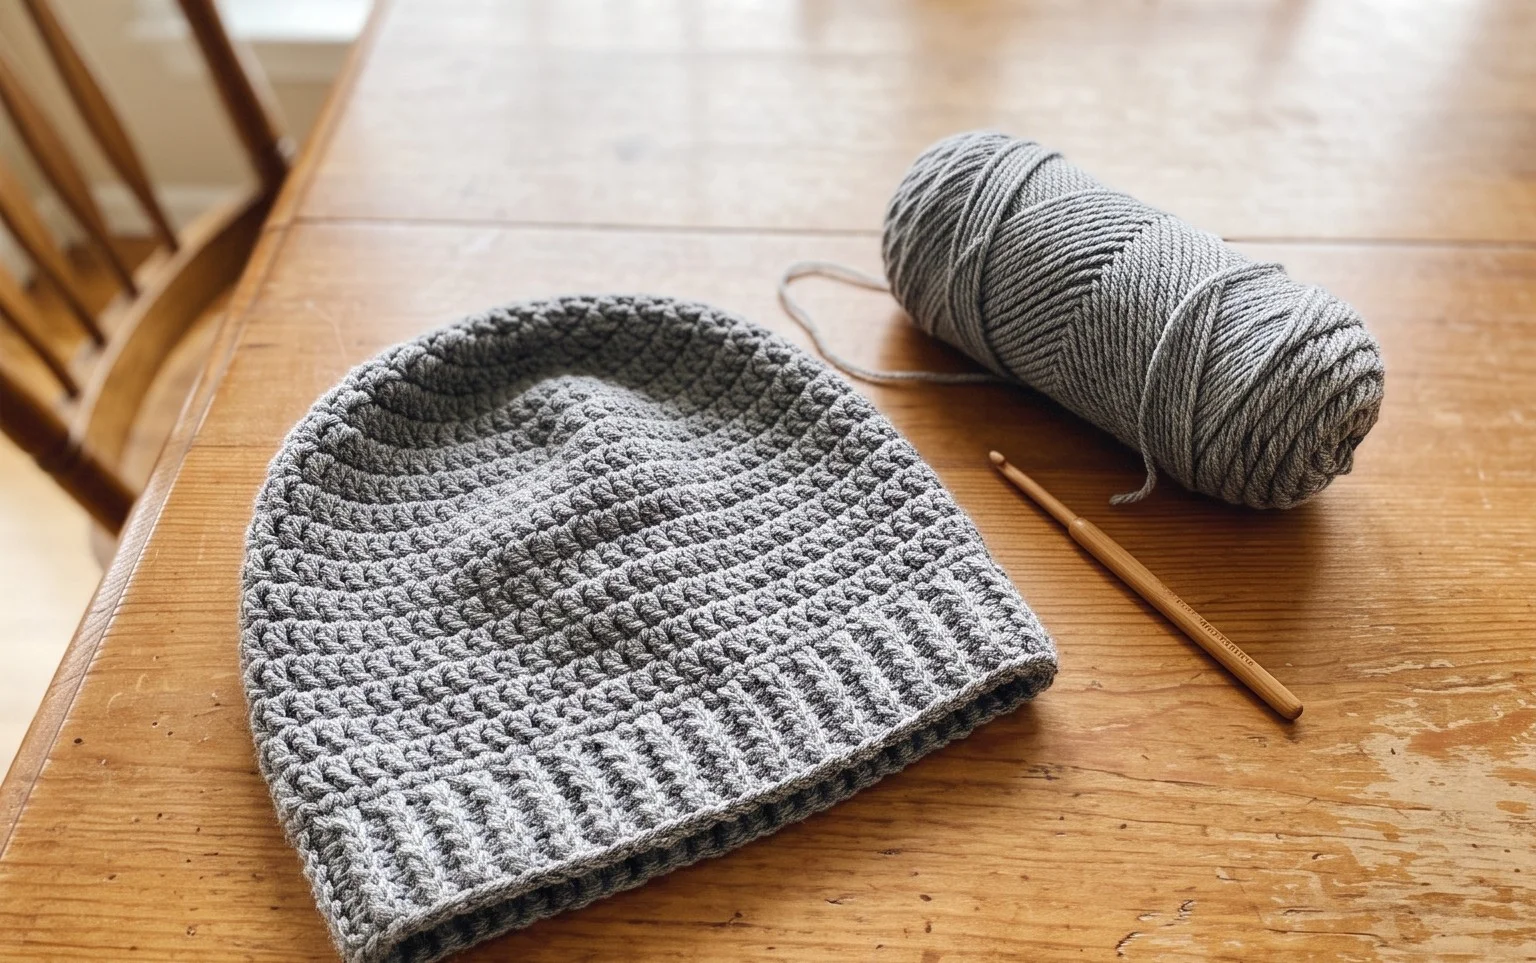
Crochet Bunny Beanie Hat: Free Beginner Pattern for Kids
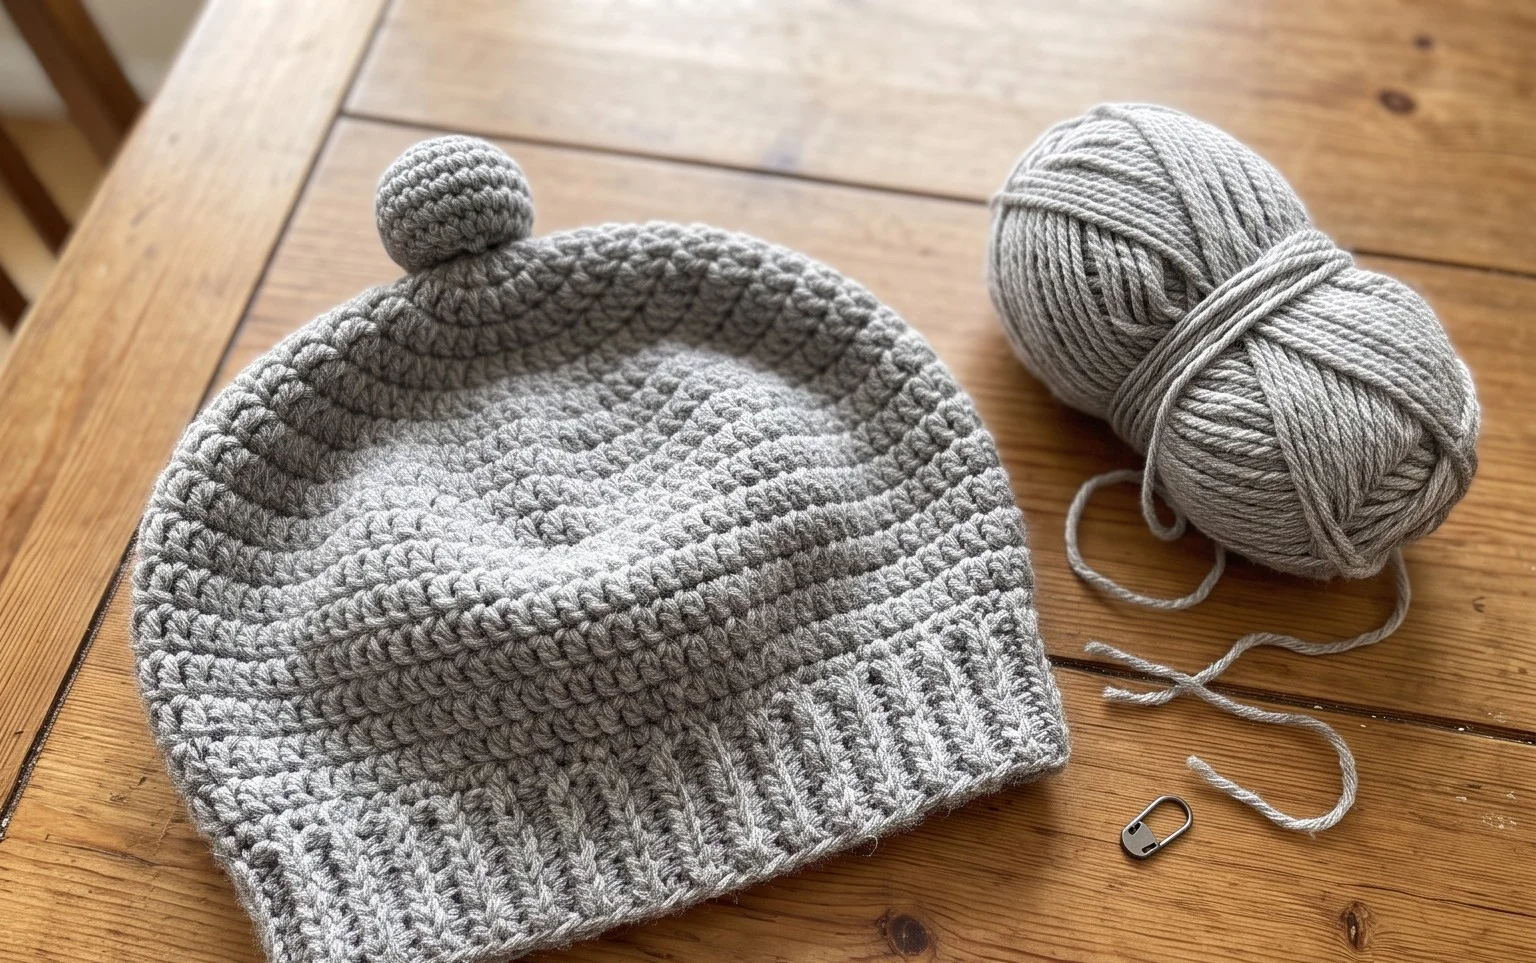
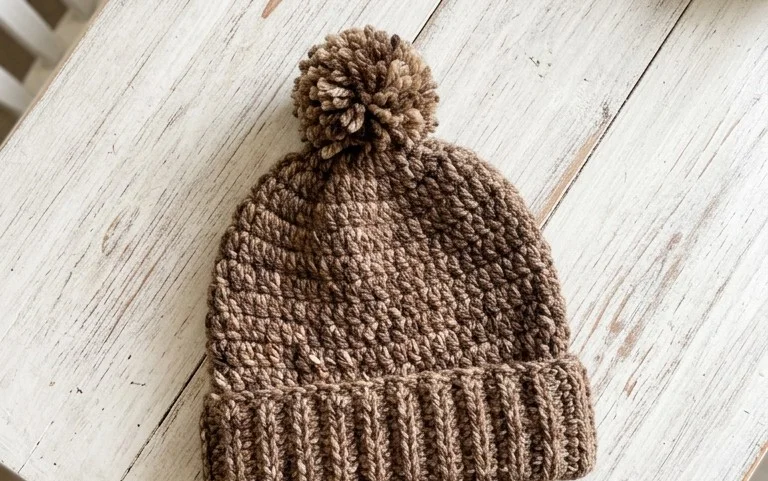
This soft, plush accessory brings a playful touch to any winter wardrobe with its long, floppy ears and snug, ribbed texture. Crocheting this piece provides a rewarding experience because the simple back-loop technique creates a thick, stretchy fabric that mimics high-end knitwear without the frustration of complex needles. It fits perfectly on children, making it a reliable gift for birthdays or chilly school mornings. You will find that the rhythmic motion of these rows allows you to finish the entire project in just a few sittings, even if you are still new to the craft and learning the basics.
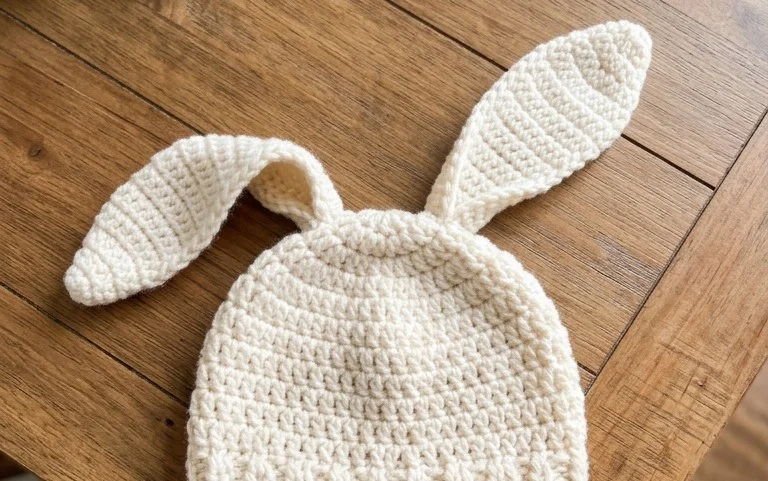
Why You’ll Love This Pattern
This crochet ribbed beanie pattern uses the half double crochet stitch worked in the back loop only to create a stretchy, knit-like fabric that hugs the head comfortably. It is a quick project, making it an ideal choice for last-minute gifts or for building your inventory for craft fairs. Because it uses a simple repeat, you can easily finish a hat while watching a movie or relaxing in the evening. The design is highly adaptable, allowing you to use almost any worsted weight yarn you have in your stash.
I managed to finish this entire beanie in just two evenings. The instructions are so clear that I did not have to restart even once, and the final fit is better than any store-bought hat I own.
— Sarah, hobbyist crocheter
Pattern Overview & Skill Level
- Skill Level: Beginner
- Approximate Time: 3 to 4 hours
- Construction: Worked as a flat rectangle in rows, then seamed at the side and gathered at the top
- Finished Dimensions: Fits an average adult head, 20 to 22 inches in circumference
Materials & Supplies Needed
- Yarn: Worsted weight (#4), wool or acrylic blend, approximately 200 yards
- Hook Size: 5.5 mm (US I-9)
- Notions: Tapestry needle, stitch marker, scissors
- Safe yarn substitutions: Cotton yarn is a suitable substitute, though it will produce a heavier, less stretchy hat. If you choose a lighter weight yarn, you will need to add more foundation chains and rows to maintain the dimensions.
Stitch Guide & Abbreviations (US Terms)
- ch: chain
- hdc: half double crochet
- BLO: back loop only (insert hook under the back loop of the stitch instead of both loops)
- sl st: slip stitch
- st(s): stitch(es)
Step-by-Step Pattern Instructions
Main Hat Body
The hat is worked in a single flat rectangle. You will crochet across the width of the hat, working in rows.
- Row 1: Ch 41. Hdc in the second ch from the hook and each ch across. (40 sts)
- Row 2: Ch 1, turn. Hdc in the BLO of each st across. (40 sts)
- Rows 3-60: Repeat Row 2 until the piece measures approximately 20 inches wide when slightly stretched. (40 sts)
Assembly and Finishing
- Seaming: Fold the rectangle in half by bringing the short ends together. Slip stitch through the back loop of the foundation chain and the back loop of the final row to join the edges, creating a tube. Fasten off, leaving an 18-inch yarn tail.
- Gathering: Thread your tapestry needle with the long yarn tail. Weave the needle in and out through the stitches along one open edge of the tube. Pull the yarn tight to cinch the top closed. Secure the yarn with a knot and weave in your ends on the inside of the hat.
Care & Washing Instructions
- Hand wash in cool water using a mild wool-safe detergent.
- Do not wring out the hat; instead, gently press excess water out between two towels.
- Lay the hat flat on a dry towel to air dry, reshaping it to its original form while damp.
Pro Tips & Common Mistakes to Avoid
- Maintain consistent tension throughout the rows; if your tension is too loose, the hat will stretch out of shape, and if it is too tight, the fabric will lose its flexibility.
- Use a stitch marker on the first stitch of every row to ensure your stitch count remains at 40, which prevents the sides of the rectangle from tapering inward.
- When joining the seam, keep your slip stitches loose to ensure the finished seam has the same stretchiness as the rest of the fabric.
- To adjust the size, simply add or subtract foundation chains at the start to change the height, or add more rows to increase the circumference. Changing the width will require more or less yarn than the suggested 200 yards.
Frequently Asked Questions
Can I use a different weight of yarn for this pattern?
You can use a different yarn weight, but you will need to adjust your starting chain length to match your desired hat height and the number of rows to match your head circumference. Always check your gauge before beginning.
Is this pattern suitable for complete beginners?
Yes, this is an excellent starter project. It only uses the half double crochet stitch and requires basic seaming, which are fundamental techniques for any crochet project.
Can I sell the hats I make from this pattern?
Yes, you may sell finished items made from this pattern. Please provide credit to the designer when listing your items online or at local markets.
What is the best way to make the hat fit tighter?
If the hat feels too loose, you can reduce the number of rows slightly. Always try the hat on periodically while you are working the final rows to ensure the fit meets your preference.
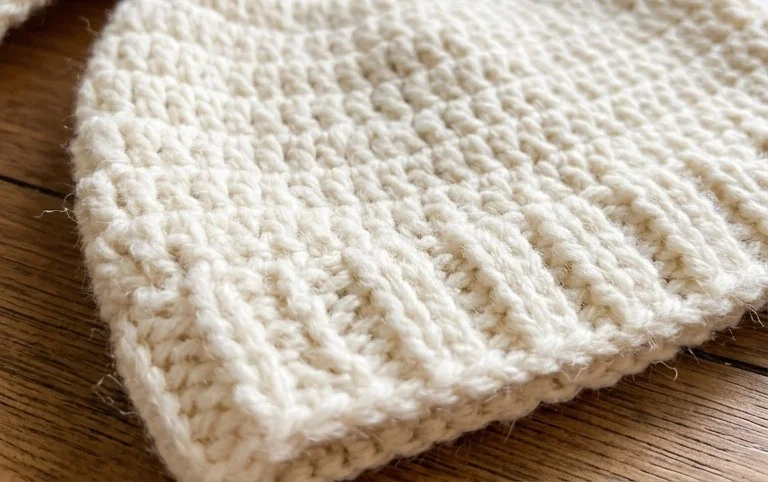
Your finished bunny beanie is ready to keep a little one warm all season long, especially when worked in a soft pastel wool blend. You can customize the look by sewing on tiny felt circles for the nose or adding a small pom-pom tail to the back for extra detail. Please post a photo of your work on Instagram so others can see how your color choices turned out. Browse the rest of the blog for more patterns that use simple stitches and minimal materials for your next project.