Free Crochet Christmas Ornament Pattern: Easy Tutorial
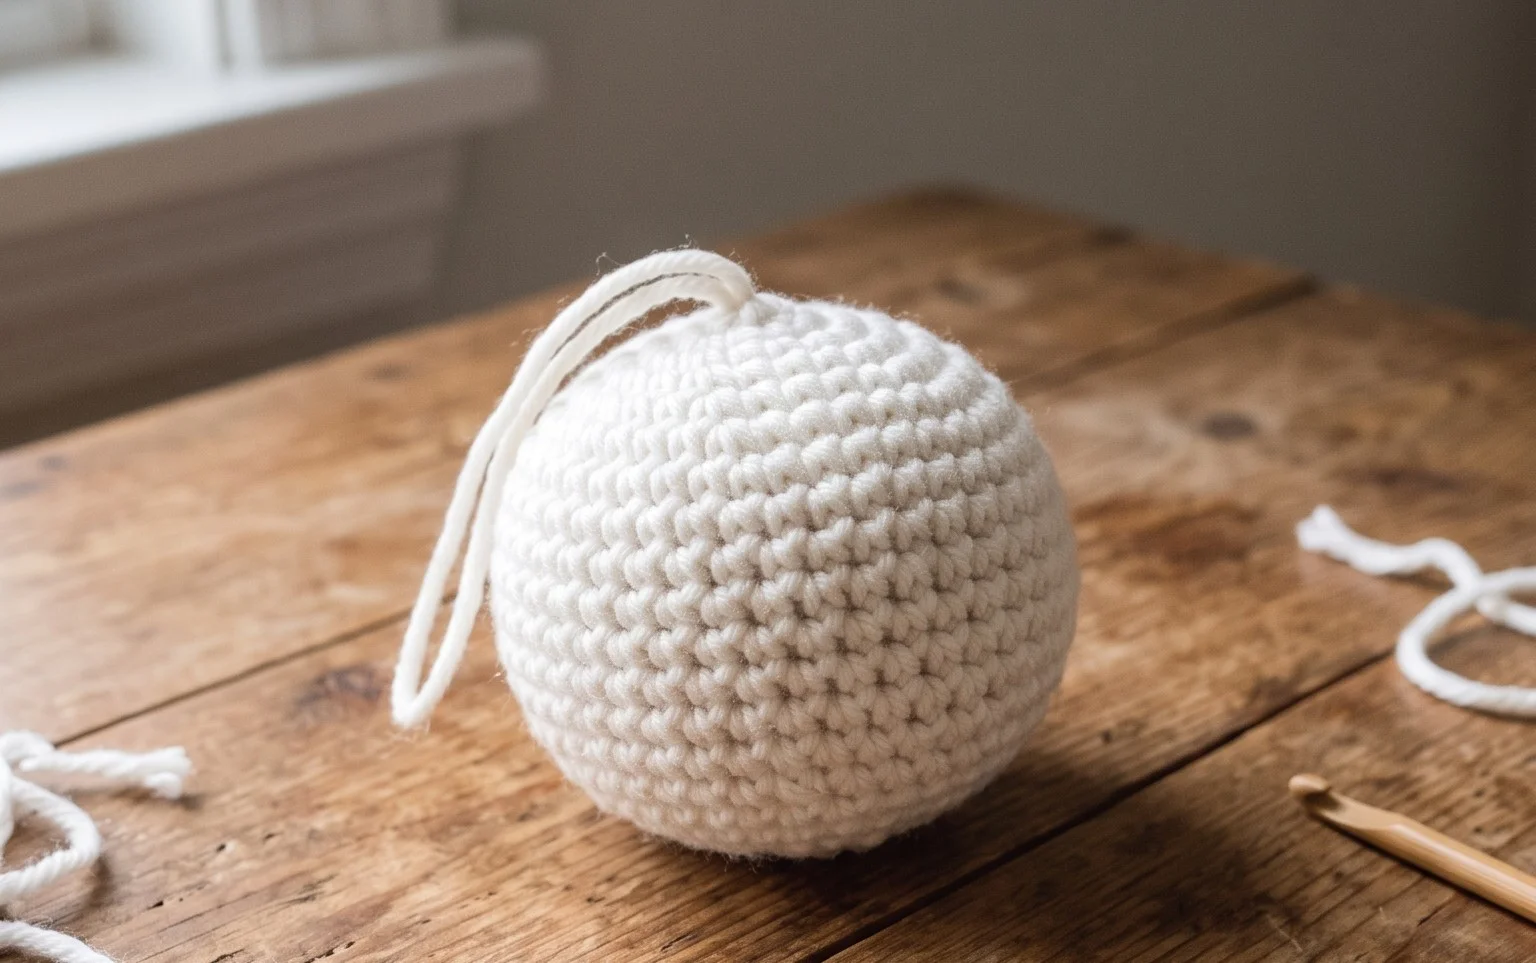
These hanging ornaments feature a classic bauble shape that catches the light beautifully when hung on a pine tree branch. The dense, structured stitches provide a clean silhouette that holds its own shape, making them a satisfying project for beginners who want to see quick results. You will learn how to maintain consistent tension while working in a tight spiral, which creates the smooth surface characteristic of professional handmade decorations. Making these ornaments is a great way to use up those leftover balls of yarn from larger winter projects. They feel sturdy in the hand and offer a personal touch to your holiday decorations that store-bought plastic versions simply cannot match.
Why You’ll Love This Pattern
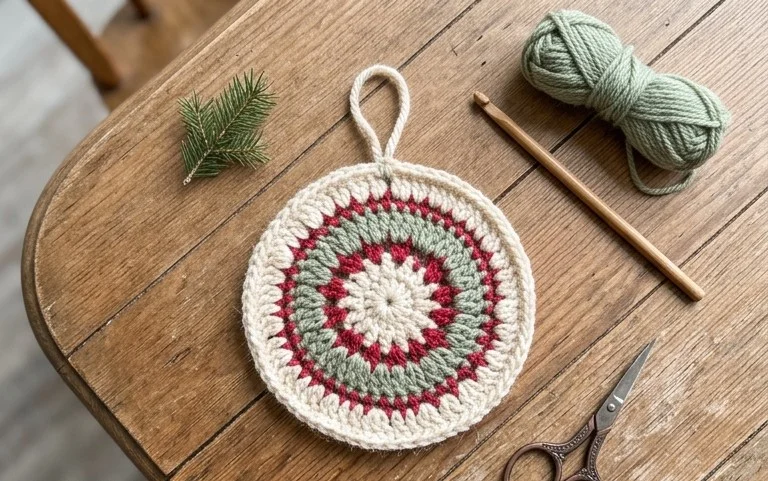
This beginner-friendly crochet coaster pattern provides a practical way to protect your furniture while practicing fundamental stitch techniques. The design utilizes a classic circular construction, making it an ideal choice for using up small amounts of leftover cotton yarn. Because each coaster works up in under twenty minutes, you can easily produce a full set of four or six in a single afternoon. The final texture is dense enough to absorb condensation from cold drinks without losing its shape, ensuring your hard work remains functional for years.
I managed to finish a set of these coasters for a housewarming gift in one evening. The instructions were very easy to follow and the round transitions are nearly invisible.
— Sarah, hobbyist crocheter
Pattern Overview & Skill Level
- Skill Level: Beginner
- Approximate Time: 15–20 minutes per coaster
- Construction: Working in joined rounds to create a flat circular disk
- Finished Dimensions: Approximately 4 inches in diameter
Materials & Supplies Needed
- Yarn: Worsted weight (#4) 100% cotton yarn, approximately 15 yards per coaster. Cotton is necessary for its absorbency and heat resistance.
- Hook Size: 5.0 mm (H-8) crochet hook.
- Notions: Tapestry needle for weaving in ends and scissors.
- Yarn Substitutions: Acrylic yarn may be substituted if the coasters are for decorative use only, though it will not absorb moisture as effectively as cotton. Using a thinner weight yarn will result in a smaller coaster unless you adjust the number of increase rounds.
Stitch Guide & Abbreviations (US Terms)
- ch: Chain
- st/sts: Stitch/stitches
- sl st: Slip stitch
- sc: Single crochet
- dc: Double crochet
- inc: Increase (work 2 dc into the same stitch)
- MR: Magic ring (or ch 4 and sl st to first ch to form a ring)
Step-by-Step Pattern Instructions
Coaster Body
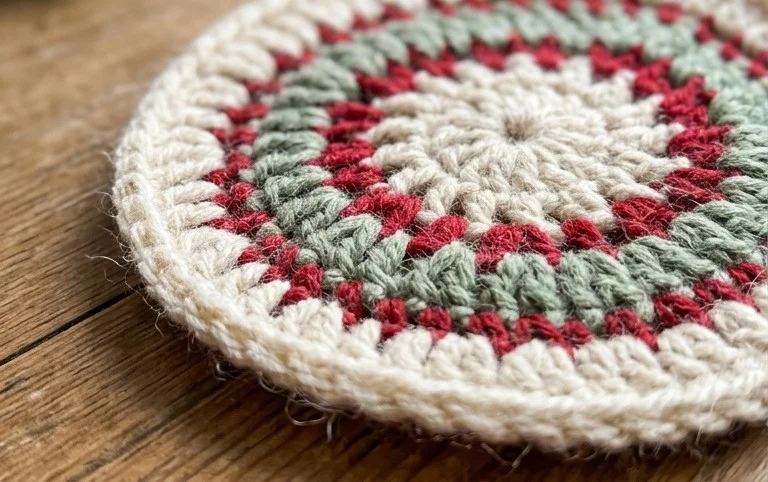
- Rnd 1: Start with a MR. Ch 3 (counts as first dc here and throughout), work 11 dc into the ring. Join with a sl st to the top of the initial ch 3. (12 sts)
- Rnd 2: Ch 3. Work 1 dc in the same st. Work 2 dc in each remaining st around. Join with a sl st to the top of the initial ch 3. (24 sts)
- Rnd 3: Ch 3. Work 1 dc in the next st. 2 dc in the next st, 1 dc in the next st repeat from * to * around. Join with a sl st to the top of the initial ch 3. (36 sts)
- Rnd 4: Ch 3. Work 1 dc in each of the next 2 sts. 2 dc in the next st, 1 dc in each of the next 2 sts repeat from * to * around. Join with a sl st to the top of the initial ch 3. (48 sts)
Finishing
Fasten off your yarn, leaving a 6-inch tail. Use your tapestry needle to weave the tail through the back loops of the final round stitches to secure it. Pull the center of the magic ring tight to close the hole, and weave in that starting tail as well to prevent the coaster from unraveling during use.
Care & Washing Instructions
- Machine wash on a gentle cycle in cold water using a mild detergent.
- Reshape the coasters while damp and lay them flat on a towel to air dry.
- Avoid using bleach or fabric softeners, as these can break down the cotton fibers and reduce absorbency.
Pro Tips & Common Mistakes to Avoid
- Maintain consistent tension throughout the rounds to ensure the coaster lies perfectly flat. If the edges start to ruffle, your tension may be too loose; if the circle curls upward, try a slightly larger hook or ensure your stitches are not pulled too tight.
- Place a stitch marker in the first stitch of every round. This helps you track exactly where each round ends and avoids accidentally adding extra stitches at the join point.
- Weave your yarn ends in opposite directions for at least an inch to ensure they stay buried securely through repeated washings.
- To adjust the size, add or subtract a round of increases. Keep in mind that adding a fifth round will require roughly 5 extra yards of yarn and may require a larger diameter base to maintain flatness.
Frequently Asked Questions
Can I use a different yarn weight for this pattern?
Yes, you can use a lighter weight yarn such as DK or sport weight, but your finished coaster will be significantly smaller. You may need to add an extra round to reach the standard 4-inch size.
Why is my coaster curling into a bowl shape?
Curling usually indicates that your tension is too tight or you have missed an increase in a round. Count your stitches at the end of each round to ensure you have the correct number before moving on.
Are these coasters heat resistant enough for hot mugs?
Since these are made from 100% cotton, they handle heat from standard coffee or tea mugs very well. Avoid using them as trivets for heavy cast iron pans or pots directly from the stove, as those items require thicker, padded material.
Am I allowed to sell coasters made from this pattern?
You are welcome to sell finished items created from this pattern. Please credit the design to this website when listing your products online or at craft markets.
Seeing your handmade decorations hanging on the tree brings a sense of accomplishment that lasts throughout the holiday season. You can easily adapt this design by switching to metallic embroidery floss for a smaller, delicate look or adding a simple beaded tassel to the bottom for extra movement. Sharing a photo of your finished work on your favorite social media platforms helps others find inspiration for their own holiday crafts. Feel free to browse through the rest of the blog for more free patterns that you can complete in a single sitting while enjoying a hot drink.